
 This is an updated blog article of my original post "Creating an SR on Oracle Support". The process has been rearranged and has some new functions in processing an SR.
Creating a support account:
(if you have a login to Oracle support skip this section)
- Go to https://support.oracle.com
- Click “New user? Register here”
- Fill in your information including a username and password
- It will ask more questions and you should have your Support Identifier, SI, number ready as it will ask for that
- Once you have completed the creation, you will need to be approved by the administrator for your Agile Support account (someone in your company). You can view the request by clicking “More” from the top menu and then Settings. The list of Support Identifiers is in the top list with the status.
Create the Service Request:
- Go to https://support.oracle.com
- Click the Sign In button
- Enter your username and password and click the Sign In button
- Once the support application starts, click the Service Requests tab at the top of the window
- Click Create SR under the Service Requests pane

- Fill in the Problem Summary and Description and error codes if you have any
- You can use fill in the “Where is the Problem?” information manually or use an existing, recent service request in the “Autofill this section using” by clicking “Existing SR” and choosing one from the popup window.
- Choose or confirm the Product (probably Oracle Agile Product Collaboration or Oracle Agile PLM MCAD Connector)
- Choose the version of the Product (e.g. 9.3.1.3 or 3.4)
- Choose the Language
- Choose the Operating System/Version
- Choose the Database/Version
- Choose the Database Platform/Version
- Choose the Problem type from the drop down list
- Ensure that your SI number is in the Support Identifier field
- Click Next

- For common problems, the “Guided Resolution Tool” will be activated and will ask more questions, trying to narrow down the problem and determine a solution. Answer each question and if the source of the problem can be determined, the solution document will be listed with the instructions to address the issue.
- Click the Save as Draft button before investigating any solution so that you can come back to this place if the issue cannot be resolved.
- If the issue is resolved then click Solved Issue
- If there was no guided solution and there are documents that match the problem description that you entered, they will be displayed in this screen. Click on the title to display the document on the right side of the window. If one of the documents solves your problem then cancel the SR creation or click the “This solved my problem” button, otherwise, click Next
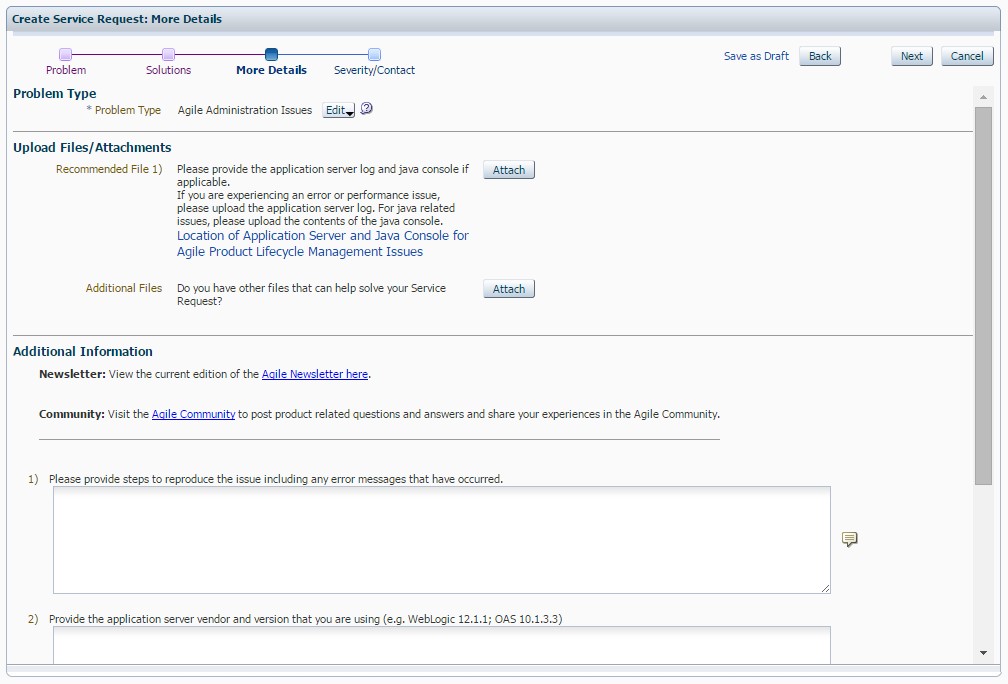
- Attach relevant files - screenshots, a video of the issue occurring, log files, CAD files that caused the problem…
- Enter the steps to reproduce the problem
- Enter the other information as requested. The questions vary based on the information entered on the first screen
- The severity, the level of attention and response time, of the issue is determined by how you answer the question “Determine how this problem is impacting your business…” so be honest but specific if this is having a large impact on your business.
- Click Next
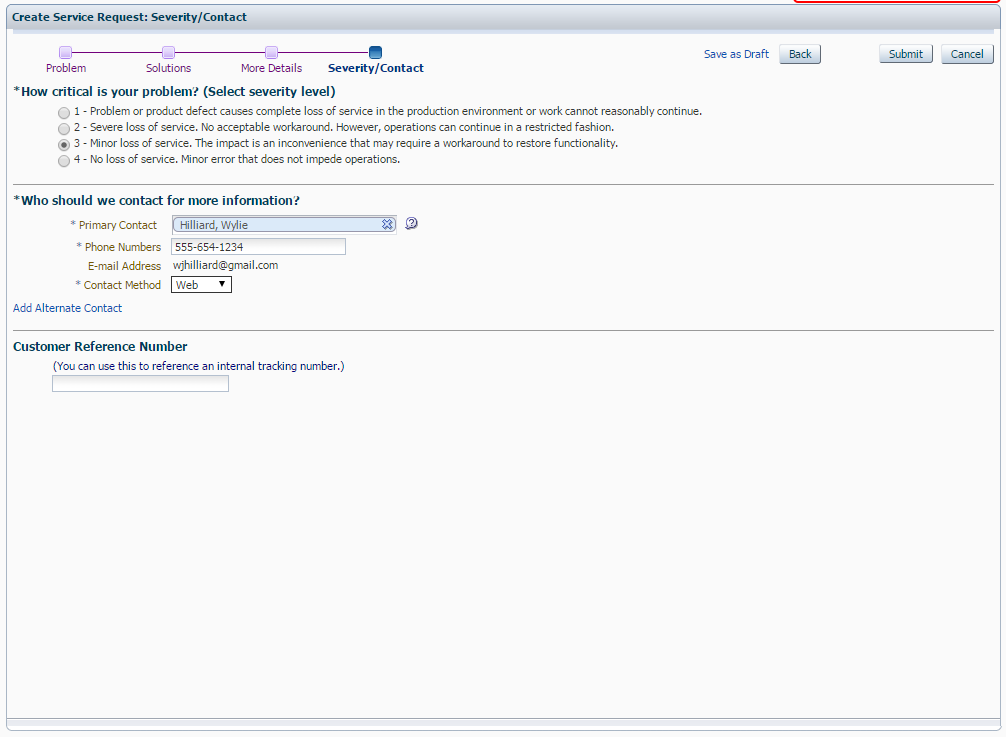
- Choose the radio button for the severity of your issue. 1 is urgent and will get a rapid response but do not choose it if you are not completely down in a production situation and are ready to work through the issue with support until it is up. 2 will get a moderate response. 3 will get a response someday. 4 will be recorded for posterity but probably no action
- Review and click Submit