

This blog outlines the fundamental workings of different methods when it comes to minimizing the impact of File Storage capacity requirements with Agile EC.
1. File Storage Fundamentals
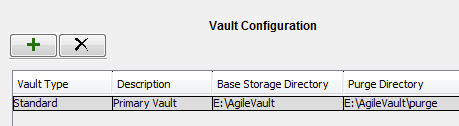
The Agile Vault
Each FileManager has a primary Vault that is configured. Part of this configuration includes identifying the Purge Directory.

Agile EC Save Options
Depending on the Save Option selected in EC, the net effect on the Vault will vary. The Save Option is set from the general Preferences or may be set per Design object in the Agile EC Save Preview.
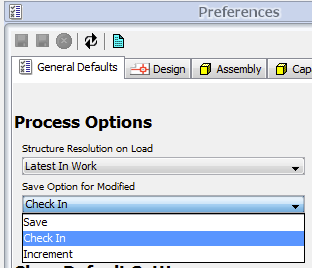
Figure 3 - Save Option selection from preferences dialog
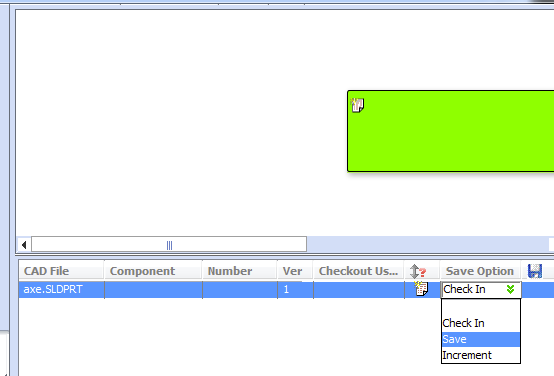
Figure 4 - Save Option selection from Save Preview
When using “Check In” or “Increment” a new version of the Design is created on every Save and the Agile Vault storage capacity permanently consumed (as long as all versions remain) is equal to all of the files (including viewables) created.

Table 1 - Vault Results with Save Option set to Check In or Increment
When using “Save” the same version of the Design is appended on every Save and the Agile Vault storage capacity permanently consumed does note change from save to save, excepting the initial Save for a New version. The temporary storage capacity consumed is equal with either option; however, the files added for prior saves to the same version are moved to the purge directory and may be deleted at any time reducing the overall long term impact on the storage capacity consumed.

Table 2 - Vault Results with Save Option set to Save
Disk Consumption Examples
The following show various examples of storage consumption under various save option scenarios.
Before any scenario, this is the starting state of the Agile Vault.
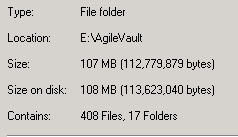
Figure 5 - Initial Vault Size
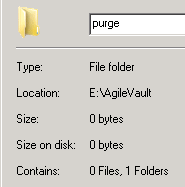
Figure 6 - Initial Vault consumed with the purge directory
-
Checkout and Save (Save #1)
An Assembly with an existing version previously checked in has been checked out and saved using the Save option (not Checked In).
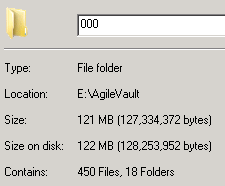
Figure 7 - Total Vault Space Consumed after Checkout and Save
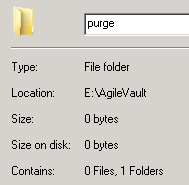
Figure 8 - No change to purge directory after Checkout and Save
-
Additional Save (Save #2)
The same Assembly is Saved again (Save #2), but again not Checked In. Note that the main Vault has had very little change in the disk space consumed, but the purge directory has been populated with files from the previous save.
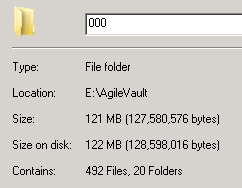
Figure 9 - Total Vault Space Consumed after Save #2
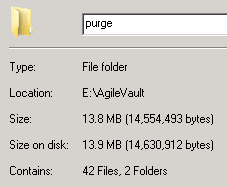
Figure 10 - Storage consumed by purge directory after save #2
-
Additional Save (Save #3)
The same Assembly is Saved again (Save #3), but again not Checked In. Note that the main Vault has still had very little change in the disk space consumed, but the purge directory has grown again as it has been populated with files from the second save.
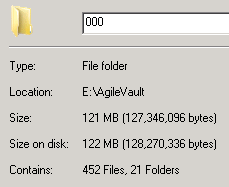
Figure 11 - Total Vault Space Consumed after Save #3
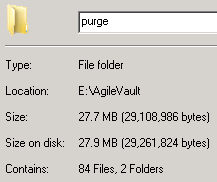
Figure 12 - Storage consumed by purge directory after save #3
-
Save and Check In (Save #4)
The same Assembly is Saved again (Save #4), but this time using the Check In option. Note that the main Vault has still had very little change in the disk space consumed, but the purge directory has grown again as it has been populated with files from the third save.
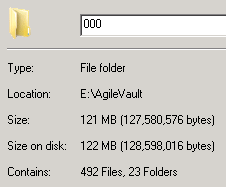
Figure 13 - Total Vault Space Consumed after Save #4
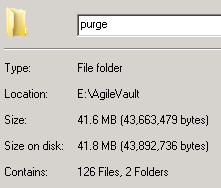
Figure 14 - Storage consumed by purge directory after save #4
[Edit: Repost from 2015]